An Educational Guide to Installing Backlit Address Numbers
Are you looking to enhance the curb appeal of your home while improving visibility for guests, deliveries, and emergency services? Installing backlit address numbers can be a great solution. These illuminated address numbers not only add a touch of modern elegance but also ensure your home can be easily found. Let’s walk through a step-by-step guide to installing these innovative address numbers so that you can enjoy both style and function.
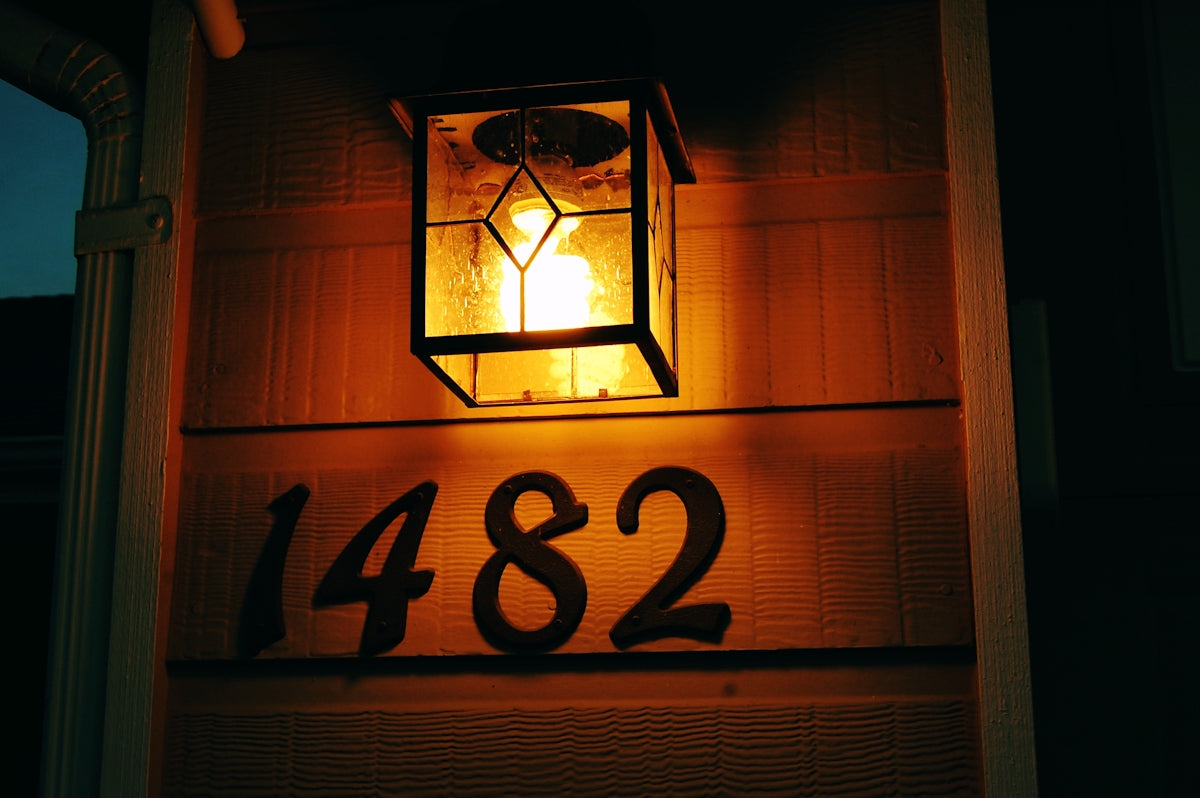
Why Choose Backlit Address Numbers?
Before diving into the installation process, it's important to understand why backlit address numbers are a beneficial addition to any home. These illuminated street numbers are designed to improve the visibility of your address in low-light conditions, making them an excellent choice for nighttime and areas with minimal street lighting.
LED house numbers are energy-efficient and have a longer lifespan compared to traditional lighting options. They provide a sophisticated glow that enhances the aesthetic appeal of your property.
Tools and Materials Needed
To install backlit address numbers, gather the following tools and materials:
- Drill
- Screwdriver
- Measuring tape
- Level
- Pencil or marker
- Screws and mounting hardware (typically included with the product)
- Weatherproof silicone sealant (optional, for added weather protection)
Step-by-Step Installation Process
- Choose the Location: Decide where you want to place the backlit address numbers. Ensure the location is visible from the street and is accessible for electrical connections. A common choice is near the front door, garage, or gate.
- Measure and Mark: Use a measuring tape and level to mark the positions for each number. This ensures they are aligned correctly. Mark these spots lightly with a pencil or marker.
- Drill Holes: Using a drill, create holes at the marked spots. Ensure the holes are deep enough for the mounting hardware to fit securely.
- Run the Wiring: If your illuminated address numbers require an electrical source, carefully plan the wiring. If you’re not comfortable working with electricity, consult a professional to ensure safe installation.
- Mount the Numbers: Align each backlit number over the pre-drilled holes and insert the mounting screws. Use the screwdriver to securely fasten the numbers into place.
- Seal the Edges (Optional): For added weather protection, apply a thin layer of weatherproof silicone sealant around the edges of the numbers.
- Test the Lights: Once installed, turn on the power to test your new illuminated address numbers. Admire the bright and stylish display that enhances your home’s exterior.
Recommended Product
For those interested in high-quality illuminated address numbers, consider the Premium LED Address Numbers. These products are designed for durability and provide an impressive glow that improves your home's visibility and appeal.
Conclusion
Installing backlit address numbers is a straightforward DIY project that can significantly boost your home's curb appeal and functionality. By choosing energy-efficient LED house numbers, you not only save on electricity but also add a modern touch to your home's exterior. Make your home easy to find and look great with the elegance of backlit illuminated street numbers.
To learn more about these products and explore other options, visit Lighted Address Numbers.